In a nutshell
- Video lighting techniques are essential for enhancing storytelling and influencing viewer emotions, extending far beyond mere visibility.
- Various exercises like three-point lighting, low-key and high-key lighting, practical lighting and lighting for different genres can greatly improve one’s understanding and application of effective video lighting.
- Lighting skills can be significantly honed through constant practice and experimentation.
Video lighting is an incredibly broad and complex field. However, While video lighting can be a complex topic, there’s no need for concern. This article will provide a starting point for experimentation with common video lighting techniques. At the end of this article, you’ll have a better understanding of:
- How to determine if a scene is “properly lit.”
- Various commonly used video lighting types.
- Examining and using the tools you have on hand.
- What tools to pack before you leave.
Let’s explore seven strategies to diversify and improve your lighting skills, each aiding in achieving a properly lit set.
A note before we start
When choosing a lighting method for a scene, remember that “well lit” doesn’t necessarily mean “properly lit.” In an operating room or during a search for a lost contact lens, “well lit” implies bright, diffused light that enables clear visibility. But in video production, “properly lit” can often mean the opposite. It depends on the scene — such as a dimly lit underground tunnel where Godzilla’s eggs might be hatching or a film noir scene in which a detective chases a bandit through a warehouse.
The art of lighting in video production extends far beyond mere visibility. It plays a pivotal role in storytelling, influencing the viewer’s perception and emotions. “Properly lit,” in this context, means using lighting techniques that reinforce the narrative and heighten the overall visual experience. It’s not just about seeing; it’s about feeling.
Now, let us begin.
Exercise 1: Shoot a three-point lighting interview
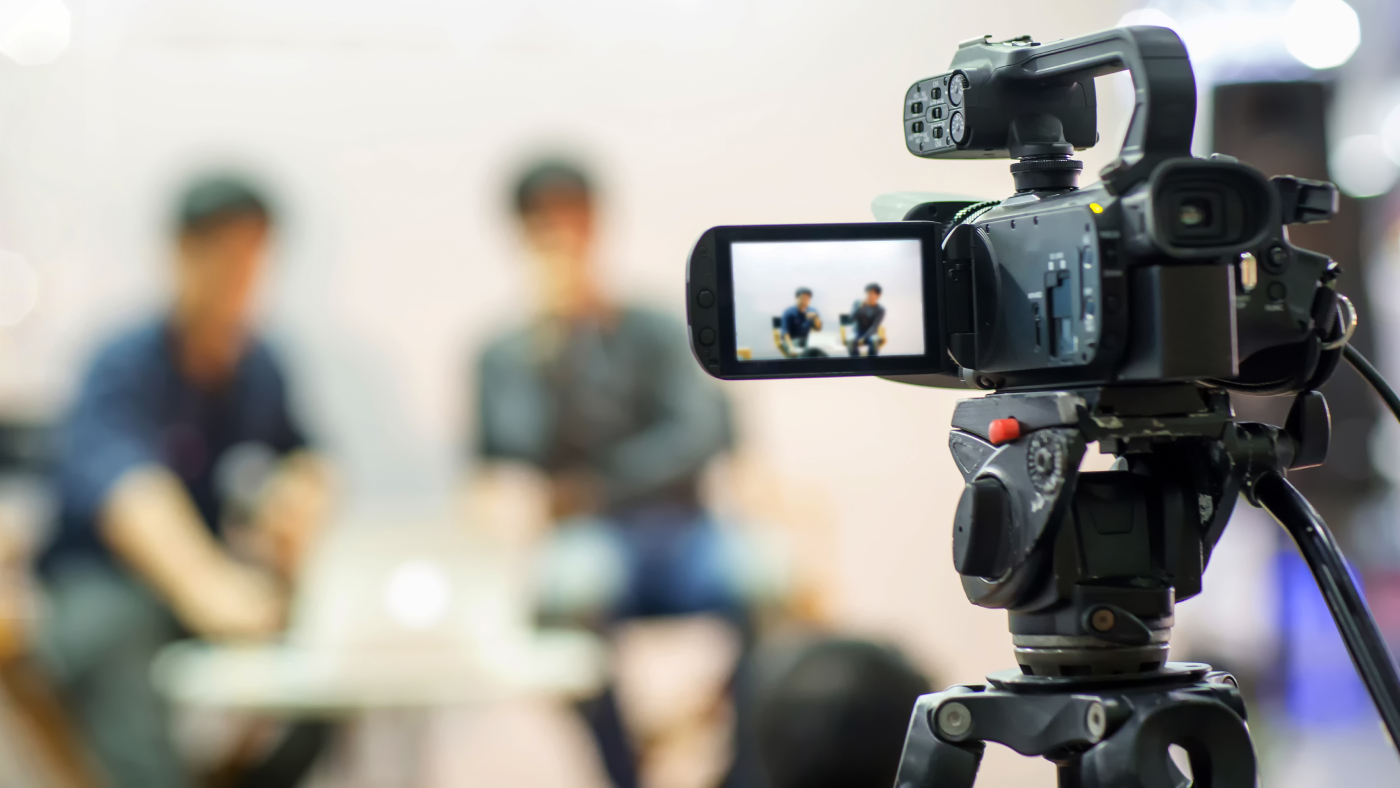
This is as basic as it gets. However, though basic, it’s a widely used lighting setup. You use three similar lights (a key, fill and back light) in three-point lighting to quickly establish a well-lit scene. You can learn more about the fundamentals of three-point lighting here.
With variable power and color LED light panels and a multitude of diffusers, you have ample room for creativity within the three-point lighting framework.
A great way to experiment with three-point lighting is to use a patient subject, perhaps an anecdote-loving uncle or a video game-obsessed nephew. Seat them in a chair, begin in total darkness (without sunlight or room light) and set up your three-point lighting. When it’s working properly, start modifying it with tools such as:
- A large softbox for your key light
- A reflector for your fill light
- A grid or snoot for your back light
You can also experiment by repositioning your lights. For a more dramatic look, try moving your key light to a 90-degree angle instead of 45 and eliminating your fill light. Or, in an interview where the subject’s environment is important, such as a scientist in a lab or a mechanic in a garage, consider using the back light to highlight the background instead of your subject.
Exercise 2: No artificial lights — window lights
For this exercise, imagine your lighting kit is stranded in Detroit, and you’ve arrived only with your camera and tripod. You’ll use household items as lighting modifiers, such as bedsheets, paper plates or pizza boxes.
The simplest way to beautifully light a scene without lights is to position someone near a window on a sunny day. (For inspiration, search “Window Light Portrait” on Pinterest.) This technique is prevalent in modern interviews, not just for its simplicity but also for its natural look. The light sensitivity and dynamic range of today’s cameras make this approach quite simple.
Exercise 3: No artificial lights — use a scrim and a net
But what if you’re without a window? What if you’re outside in a desert at noon with not a cloud in sight? Say you need to interview an archaeologist in Fort Mojave, Arizona. The landscape is filled with nothing more than a scrub brush, and the sun hangs overhead like a blinding bare bulb. The light looks dreadful, with sharp shadows everywhere. There are two useful tools that you can use here, neither of which require a crew, but both of which get a lot easier if you have a crew. These two tools are a scrim and a scrim net.
A scrim is a translucent sheet of fabric — akin to a bedsheet, but more expensive if you don’t call it a bedsheet. A scrim net, often referred to simply as a “net,” is a thin mesh that blocks light from the background. A “single net” reduces light by about one stop, and a “double net” reduces it by approximately two stops. One caveat about a net is that it can’t be in focus. Otherwise, you’ll see it’s a net. When the net’s out of focus, it makes the background darker. So you need to shoot with a wide f-stop and have some distance between your subject and your net. This technique works well for one or two-person interviews but not for wide shots or groups.
You can make DIY frames from your scrim from PVC piping. Or you can purchase a ready-made scrim kit. Scrims can also be useful in the studio as light diffusers. A close relative of the scrim is a “flag,” an opaque object that blocks light, such as a pizza box. The objective is to shield your subject from bright, harsh, directional sunlight.
Exercise 4: Color balance
Color balance in lighting is a significant aspect of video, warranting entire books dedicated to the subject. As a videographer, you’re bound to encounter situations where, for instance, a venue might be half-lit with warm 3,000 K overhead fluorescents while a large window allows 6,500 K daylight to stream in, confusing your camera’s white balance.
To address this, you can place gels over the fluorescent lights to match the window light’s color temperature. But you can also take advantage of varying light colors. Try lighting your subject with a string of 200 blue Christmas lights or a pink neon sign you found in the garage. Modern professional LED lighting panels generally offer color temperature adjustments, and you can experiment with pushing these settings to extremes.
The aim here is not to create strange visuals but to understand how different types of light and intensities affect your scene and how to apply this knowledge appropriately. Suppose you’re interviewing a UFO investigator. In that case, high-key blue light with a pink background might set the right mood, resulting in a properly lit set. Developing an understanding of when to deploy certain lights is the ultimate objective.
Exercise 5: Experimenting with the color temperature
Another way to improve your lighting game is to play with color temperatures. However, it’s common practice to not mix too many different color temperatures, as they can create conflicting moods if not handled correctly. Imagine a scene that takes place in a house at night. People in their homes typically turn on practical lights. However, the combination of an overhead light, two floor lamps and two dinner table candles may not set the desired mood for the film. How would you handle this?
One approach is to modify the lighting sources in the practical lights. For example, swap out the 60-watt incandescent light bulb in the floor lamp with a bulb that harmonizes with the unalterable color temperature of the candles. Dimming the practical lights to the point where they appear on but aren’t the primary light sources for the subjects is another technique. Employing a scrim can introduce a bit of ambient room light that fills the room, maintaining the illusion that the practical lights are doing the heavy lifting. Subtly incorporating a softbox or the light from a TV screen or laptop can help illuminate your subjects. Try setting a similar scene up in your living room and see how you can make the scene work visually and emotionally with different color temperatures. And, if it doesn’t work, consider what lights to remove.
Exercise 6: Practical video lighting
In Hollywood terms, a “practical” is any non-cinematic light source found on set. This could include floor lamps, overhead lights, the glow from a phone, candles or torches. The gaffer’s job on set involves collaborating with the director of photography, set designer and key grip to ensure the scene aligns with the director’s vision. Often, you may wear all these hats simultaneously in smaller productions, making practice crucial.
For your exercise, select a room and place your subject in it. Test all available lights in that room. What works? What doesn’t? Can you bring in another practical light to rectify issues or studio light to enhance what’s working well?
Exercise 7: Lighting for different genres
What kinds of movies do you like to watch? Or what ones do you think would be most valuable to know how to light? For this exercise, select a film, choose a scene, reverse engineer the lighting in that scene and recreate it. This is obviously going to be easier with some types of movies and more difficult with others.
Take this seemingly simply lit scene from the 1995 film “Seven,” directed by David Fincher with cinematography by Darius Khondji. Examining a behind-the-scenes look reveals this scene is a medley of lighting techniques. It includes a softbox, a flag, a reflector, a double net, some practical lights and some daylight in the background (which almost certainly isn’t real daylight). Numerous accent lights on the set create that glow behind Morgan Freeman, adding depth and separation from the background.
Although it appears simple, this scene is an incredibly complex lighting setup. When breaking down your movie’s lighting, look for behind-the-scenes featurettes. Also, apply your knowledge of lights to identify how every shadow is cast.
Honing your skills
Video lighting is a field where learning never ends — it’s continually evolving. New techniques and technologies emerge constantly. However, practicing certain skills can significantly enhance your ability to light any scene properly.
Always watch movies and television with a critical eye, and always keep asking yourself how it’s being done.

