
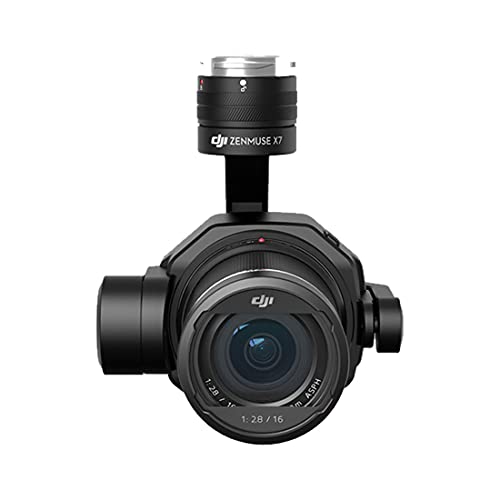
The DJI Zenmuse X7 interchangeable-lens camera has an amazing image, but it comes with a large price tag. The X7 alone, minus lenses, is 2,700 dollars. If you want the four lens set, it will set you back another 4,300 bucks. Then you’ll still need the Inspire 2 — the camera won’t work without it — which goes for another three grand. That’s a total price of about 10,000 dollars for the system.
It’s easy to get caught up in the price, and 10,000 dollars is nothing to scoff at. But DJI didn’t put a big price tag on it for no reason, you get a 6K RAW camera with four lenses, a gimbal and an amazing drone. With its Super 35 sensor, you are able to shoot up to 6K in CinemaDNG and 5.2K in ProRes to SSD. When recording to microSD, you’re able to capture in H.264 or H.265. When shooting stills, you can capture up to 24MP pictures in single, burst, auto and interval modes. All of this leads to a camera system capable of capturing shots that would have required a large drone and mounted cinema camera in the past.
Zenmuse Camera History
DJI offers six different Zenmuse cameras for different applications. The first is the X3 camera, with the first detachable gimbal. It was originally for the Inspire 1 but is also available for the handheld Osmo. With a 1/2.3 inch sensor, the X3 captures up to DCI 4K video and 12 Megapixel (MP) stills. The second Zenmuse camera is the X5, a Micro Four Thirds interchangeable lens gimbal-mounted camera. Like the X3, the X5 works with the Inspire 1 and the Osmo. Capturing up to DCI 4K with 16MP stills, the X5 has 12 stops of dynamic range and captures to a microSD card. The third camera, is the X5R, the same camera as the X5 but with the addition of CinemaDNG RAW capture. It also records to an SSD. The X5R is the last Zenmuse camera to work with the Inspire 1 and the Osmo.
For the release of the Inspire 2, the X4S and X5S were released. The X4S offers 4K capture at up to 60 frames per second (fps), while the X5S adds to that 5.2K shooting at up to 30 fps as well as CinemaDNG RAW recording. With the Inspire 2 and X5S, DJI integrated the RAW workflow into the drone rather than the camera. Both the SSD and SD cards are part of the drone, not the camera, departing from the way the X5R works.
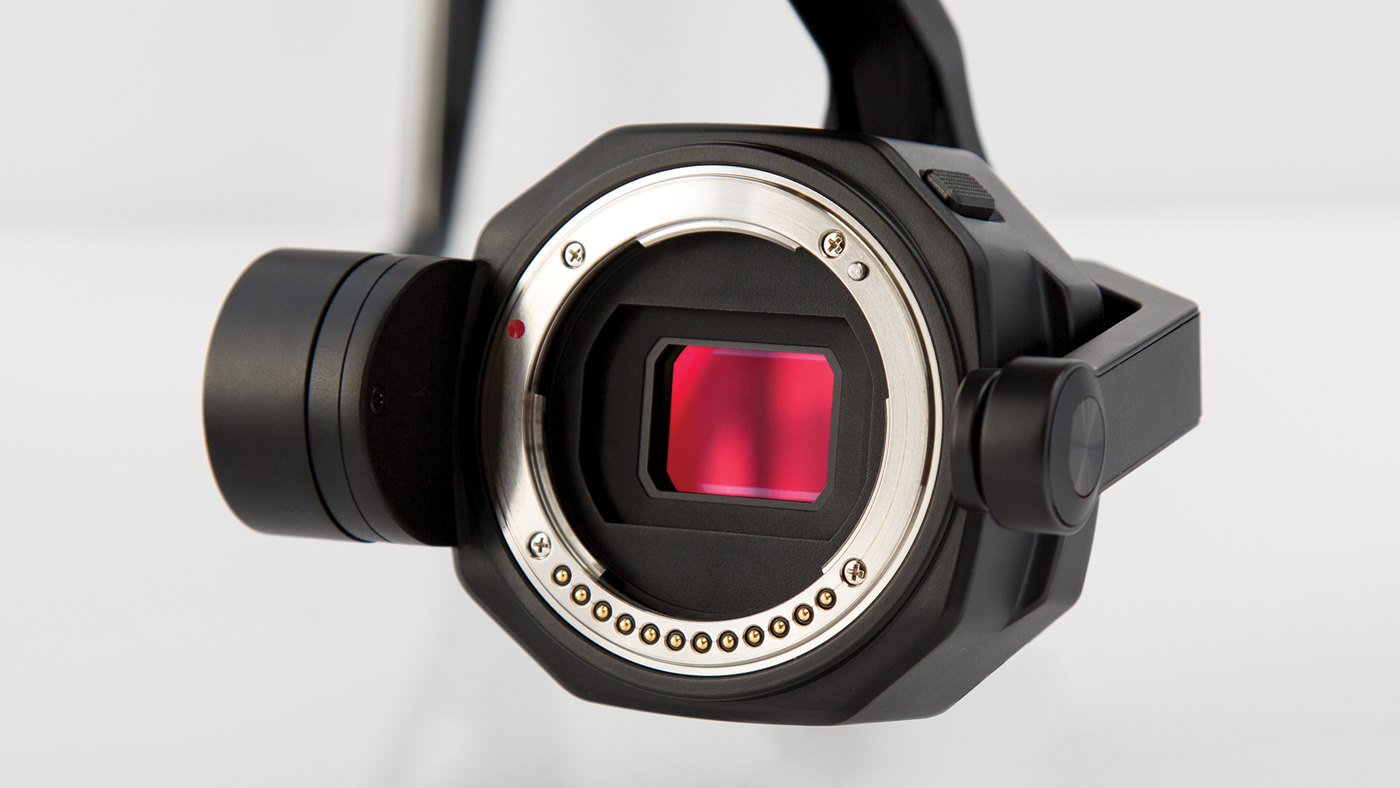
Now, the X7 is DJI’s latest release. The X7 offers a larger sensor and higher resolution, and is paired with the first lenses from DJI. The X7 shoots up to 6K at 30 fps and up to 60 fps in 3.9K with three different aspect ratios: 16:9, 17:9 and 2.44:1.
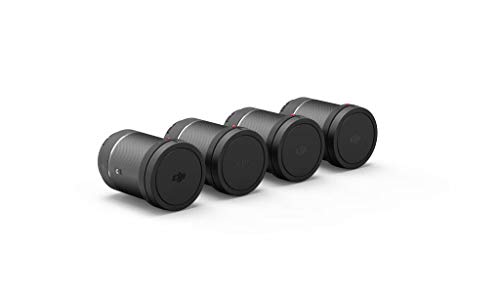
The Lenses
When it comes to changing lenses on a drone, the physical size and weight play a big role in how the drone is balanced and changes what the gimbal needs to do to keep the image stable. This payload is a key reason for DJI to create this set of four lenses for the X7. All four are the same size and similar weight — within four grams of each other. Additionally, they all offer a maximum aperture of f/2.8. Just like when using cinema lenses, these lenses will allow you to change your focal length without changing your exposure.
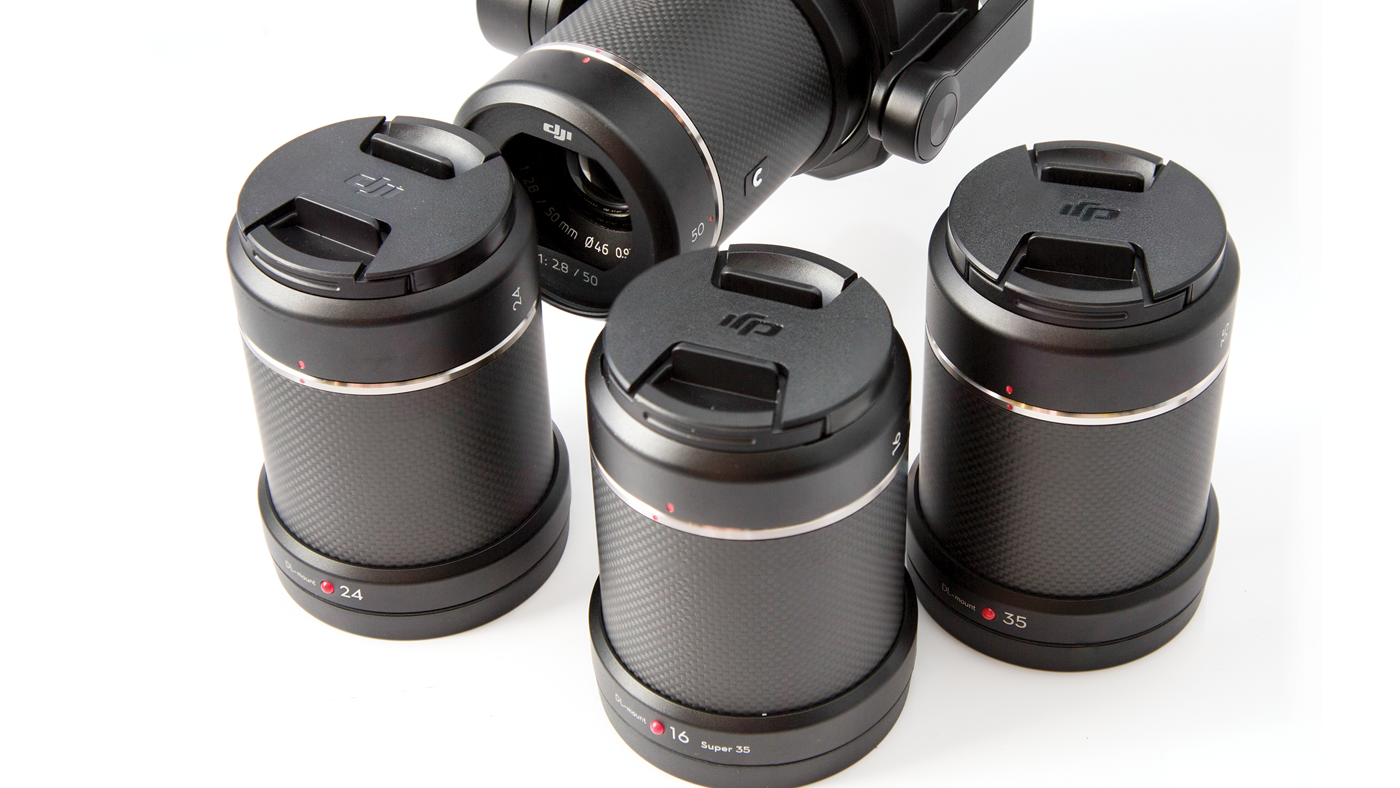
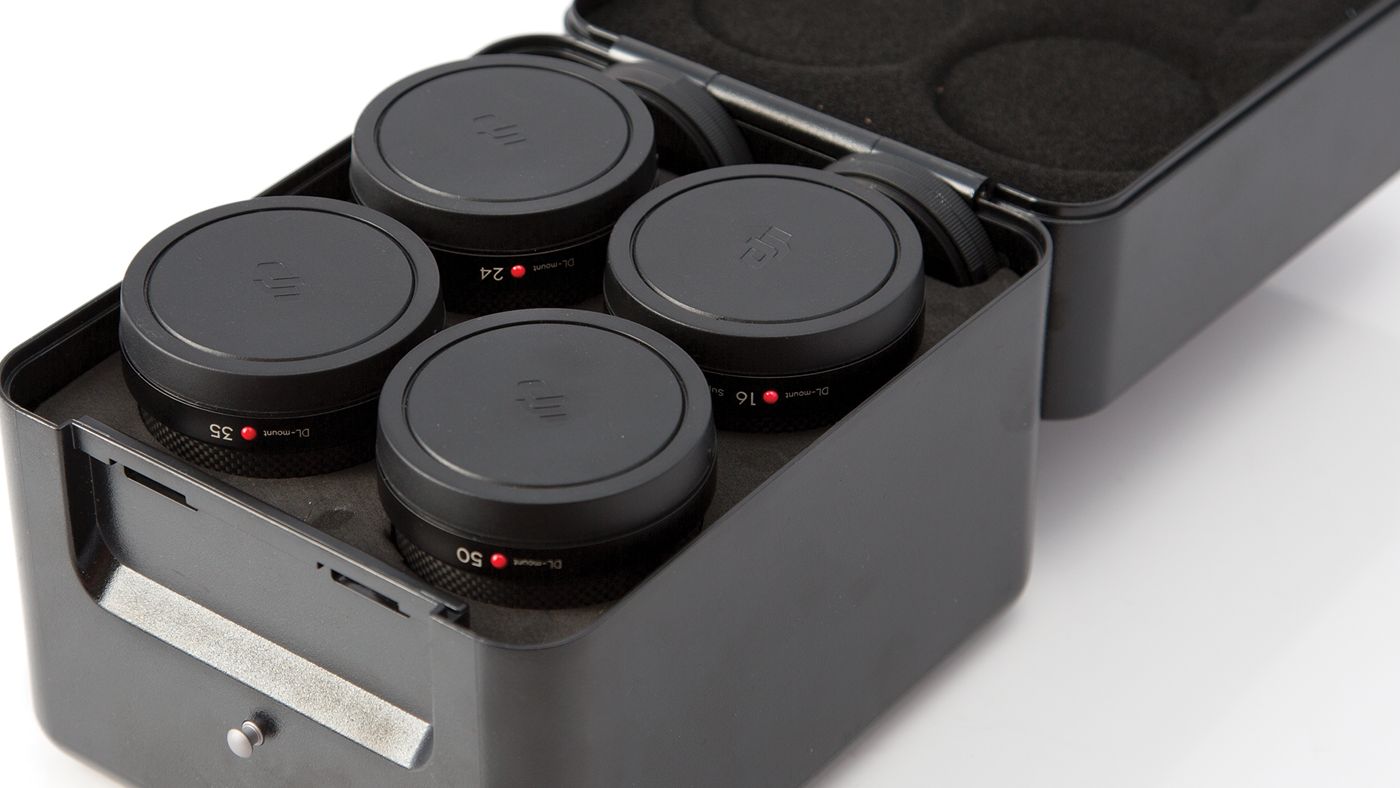
The four lenses sell for 1,300 dollars each for the 16mm, 24mm, 35mm, and 1200 dollars for the 50mm. Buying the kit will save you 800 dollars. Made with a carbon fiber housing, they offer the brand new DL mount. They all share the same filter diameter of 46mm. Just like with any other lens, you’ll need to know the camera’s crop factor in oder to find the 35mm equivalent. The X7’s Super 35 sensor offers a 1.5 times crop factor, making the focal lengths of the set equivalent to 24mm, 36mm, 53mm and 75mm.
It’s very helpful having different focal lengths. While shooting a tire directly below the camera, we attempted to get the same shot with each lens. The idea of the shot is if the tire had just died and the view from the camera was its spirit rising to the heavens. There is a give and take to having different focal lengths for this kind of shot. The good is that you don’t have to be as close to your subject matter, giving more room to fly safe. The bad is that because you have a narrowed field of view, keeping the right framing will be more difficult. Keeping those in mind, if you are a good pilot, it shouldn’t be too difficult. If you require a bit more help to achieve the shot, a second controller and operator can control the camera movement as you move the drone, or vice versa. Additionally, you could program your flight and then assume control of the camera as the drone flys autonomously.
In Use
Because we already flown the Inspire 2 in past reviews, we’ll be focusing on the performance of the camera alone. With that said, the Inspire 2 flies like a dream. Like with all of DJI’s products, they do a great job of making the user experience the same across models. Flying a Spark or an Inspire 2 uses the same app, and all of the settings are in the same place.
This is the first time we have been able to choose our lens when flying a drone. We have flown drones like the Yuneec H520, which has multiple cameras with different focal lengths. However, this camera is different because you get the same capture capabilities and sensor size regardless of focal length. We started off with shooting the 50mm because it’s not often you get to shoot in the air with a field of view that narrow.
Attaching the gimbal and camera to the drone is relatively easy. When it came to attaching the lenses, we’d expect the same experience as any other interchangeable-lens cameras, and for the most part we got it. However, when attaching the lenses, the sound and feel was alarming. It wasn’t that we were doing it wrong; it’s that the terminal connection for control of the lens makes an unsettling sound and requires an uncomfortable amount of force to attach. It’s likely this would be less and less noticable with every use, but only time will tell on that.
The second issue we came across is camera and drone related. You are not able to record to SSD without a microSD card installed. Going even further, the SSD won’t work if the SD card is full, either. We discovered this on our first flight, and unfortunately for us, we didn’t have an microSD card with us. In some DJI forums, there is a rumor that they will fix this in a future update, but as of today, no dice. It makes it so you are always capturing proxies as you record. This is good, if you need them but a waste if you don’t. On the other hand, the H.264 or H.265 proxies are pretty neat because, even if you are shooting in EL Mode/D-log, you are able to print either Rec.709 or D-log, depending on what you want. Print your proxies with Rec.709, and you’ll have files that are immediately previewable without a grade.
Once in the air, the X7 doesn’t disappoint. Flying just after sunrise, capturing the Earth as it warms up, we were able to capture the red of the sun, clouds in the sky, steam from the ground and fog in the air. The camera captured both the darkness of the trees below and the intensity of the sky while still keeping color in the brightest areas. DJI states the X7 has 14 stops of dynamic range, and it’s believable. There weren’t any issues capturing the dynamics of any scene we went after.
DJI states the X7 has 14 stops of dynamic range and it’s believable.
We don’t finish in anything higher than DCI 4K, more typically in UHD 4K. With that said, having the ability to punch in and crop without resolution loss is pretty cool. At 6K, there is lots of wiggle room, giving you loads of options when editing. When in post, we used a Mac Pro with a 3 GHz 8-Core Xeon E5 with 64GB of DDR3 and an AMD FirePro D700. CinemaDNG is not new, and even in 6K, we didn’t have much issue grading the footage.
Tests
Taking the camera out of the air and into the studio, we were able to test the low light performance of the X7. We tested in both normal and EL Mode/D-log to see if there was any low light performance gain with either. While shooting a DSC labs chart, we doubled the ISO until we reached the maximum ISO to see at what point noise was introduced into the picture. Noise was more noticeable in the blacks of our image, but the chart helped us see what the noise would look like with a wide range of skin tones and other colors. As we increased the ISO, we doubled the shutter speed to counter the increase in light. Normal and EL Mode/D-log have a different maximum ISO. EL Mode/D-log maximum ISO is 1600 and Normal is ISO 6400. Regardless of shooting normal or EL Mode/D-log, noise is introduced at the same setting: ISO 1600. For a drone, that’s great. It’s as good or better than every Canon DSLR. During this test, we went searching for a LUT to apply to convert D-log to REC709. We found that DJI offers a LUT designed for this, and it’s free.
Marketplace
The X7 is very unique in the marketplace. It’s a camera, but it’s also a gimbal and it requires a drone to work. Because of that, it’s not directly comparable to any single tool. Even if we look at it just being a camera that has a Super 35 image sensor that shoots 6K RAW, its competition is pretty slim. The Panasonic EVA1 shoots 10-bit 4:2:2 5.7K MOVs. That’s not RAW, but its pretty good. It costs 7500 dollars and is much larger. All other cameras either have a lower resolution, are far larger or cost over 10,000 dollars. Plus, if you use a larger camera, you’ll still need a gimbal and larger drone to get that aerial perspective.
Final Thoughts and Recommendations
Almost all of the drones in the digital imaging space are from DJI, so it’s likely one of their drones will fit your needs. The Inspire 2 with the X7 is a good fit for those who need cinematic images from the sky. The set of lenses gives lots of flexibility for the pilot and shooter. We didn’t like that you need a microSD card for the SSD to capture, but it’s a small issue to overcome. Additionally, how the lenses feel as they connect to the camera is a shock at first, but once you know you’re not breaking them, it’s a non-issue.
Are the Inspire 2 and Zenmuse X7 expensive? Oh yeah. Are they expensive for what they do? Not really.
DJI
www.DJI.com
STRENGTHS:
Good Image quality
Interchangeable lenses
Good low light performance
WEAKNESSES:
Expensive Lenses
SSD capture requires a microSD card
SUMMARY:
The DJI Zenmuse X7 camera and gimbal is an interchangeable lens camera with a Super 35 image sensor. It connects to a DJI Inspire 2 for up to 6K RAW images.
RECOMMENDED USERS:
- Event Videographers
- Documentarians and Indie filmmakers
- Commercial and Corporate filmmakers
- Jacks of all trades
- Journalists
TECH SPECS:
Sensor Size Still: 0.9 x 0.6″ (23.5 x 15.7 mm)
Video: 0.9 x 0.5″ (23.5 x 12.5 mm), max recording area
Lens Mount: DL
Aspect Ratio: 16:9, 17:9, 2.44:1
Photo Resolution: 24 MP
Video Resolution: 6016×3200, 3944×2088, 4096×2160, 2048×1080, 5760×3240, 3840×2160, 3712×2088, 3840×2160, 2704×1520, 1920×1080, 3840×2160, 2720×1530, 1280×720, 5280×2160, 3840×1572
Photo Modes: Single shot, Burst: 3, 5, 7, or 10 frames
Interval: 5, 7, 10, or 14 fps (up to 20 fps when using RAW burst
ISO Range
Photo: 100 to 25600
Video: 100 to 1600 (EI mode on); 100 to 6400 (EI mode off)
Shutter Speed:
Electronic Shutter Speed: 1/8000 to 8 seconds
Mechanical Shutter Speed: 1/1000 to 8 seconds (DJI DL-S 16mm F2.8 ND ASPH not supported)
Supported File Types
Photo:
DJI CINESSD: DNG
microSD: DNG, JPEG, DNG+JPEG
Video:
CINESSD: Cinema-DNG, ProRes
microSD: MOV, MP4
Recording Media
microSD: Class 10 or UHS-1 rating with a writing speed of 15 MB/s required (up to 64 GB)
SSD: DJI CINESSD
Gimbal Number of Axes: 3-axis
Angular Vibration Range: ± 0.005°
Control Range
Tilt: 40 to -125°
Pan: ± 300°
Roll: ± 20°
Manual Control Speed
Tilt: 180°/s
Roll: 180°/s
Pan: 360°/s
Chris Monlux loves an excuse to eat a hot dog. He is also Videomaker’s Multimedia Editor.


