
Within the last few years the video industry has seen the emergence of a handful of new techniques, technologies and methodologies. Aerial videography has gone positively mainstream, action cameras are ubiquitous, and smartphone or tablet cinematography is as common as things get. A recent addition to the fold is 360 degree video, which is video shot with special cameras designed with multiple sensors and lenses to capture video in all directions. The cameras pair with special software to manage stitching the fish-eyed footage together into one cohesive 360 image. This allows us to view the footage and look virtually in all directions. Different delivery platforms let us view the footage in different ways, but this new type of video is hot on all of the larger social platforms, and those people working in the 360 degree video world are doing their best to make this medium gain traction.
Of course, with each and every new video format, there are considerations when working with the footage. We’ll take a look at some of the basics for producing 360 degree video. With the wide variety of cameras and software on the market, we might not dot every single I or cross every T, but the goal is to demystify the larger topic of a basic 360 degree video workflow.
How do 360 cameras work?
Consumer 360 cameras on the market, such as the Ricoh Theta S or the GoPro Fusion, capture 360 degrees by simply shooting two simultaneous clips using two sensors and two fisheye lenses. The raw footage from these cameras looks something like two unintelligible circles of mushy video clips, side by side. Fortunately, these and other cameras will ship with software that can stitch these parabolic images into one spherical image. The final version, once published, will give the viewer the point of view of existing in the clip — they can angle the clip in any direction and see an uninterrupted perspective of that direction.
VR vs 360-degree video
For those who have the means, using a VR headset such as a Google Cardboard viewer or an Oculus Rift, can actually enable viewers to look around a clip as though they were truly in that world.
Before we get too far down the 360 degree video road, it should be clarified that the terms VR, or virtual reality, and 360 video have been used interchangeably by many who know better and some who don’t.
They’re two different things.
While 360 degree video can be consumed using VR hardware, 360 video is not VR and VR is not 360 degree video.
360 degree video is just that — video shot, edited and delivered in 360 degrees. Virtual reality refers to the technology and experience involved in mounting a headset and consuming immersive content. While 360 degree video can be consumed using VR hardware, 360 video is not VR and VR is not 360 degree video.
Shooting 360 video
Ok, now that we’ve set that straight we can take a look at a common workflow, shooting video, editing video, adding a few titles to our video, then rendering and publishing.
To start, let’s talk shooting video.
For simplicity, we’ll assume that we’re working with a camera similar to a Ricoh Theta S or LG 360 camera and editing within Adobe Premiere Pro CC 2017. Don’t let this workflow stand in your way of trying other 360 cameras or editing software. There are wonderful camera offerings such as the Nikon KeyMission 360, the 360fly 4K, the Samsung Gear 360, the Kodak PixPro 360 4K, the Giroptic 360 Cam and many others. There’s even a camera that can turn your iPhone into a 360 camera, but we’ll touch on that later on. For now it’s Premiere and a generic consumer 360 camera, but focus on the principals and build from there.
To start, shooting video is similar – and different – from shooting normal video footage. Technically, the first step is to place or point the camera and hit record, but the 360 thing changes the approach somewhat. A 360 camera shoots in all directions, and, as such, placing the camera is different. There’s not a single focal point – there’s an entire scene that the camera exists within. Choosing a great location and placement is key.
Next, bring a tripod — shaky 360 footage, just like shaky standard footage — isn’t very appealing. Plus, it’s nice to not have one angle of a foreground full of our outstretched hand holding said 360 cam with an expectant look on our face. From a gear safety perspective a tripod makes sense, as the very nature of the camera dictates that the lenses must stick out to capture 170+ degrees of footage. If they tip over, they’ll likely hit the ground glass-first. Toss a little tripod in your bag and enjoy a worry free 360 shoot.
Finally, lighting is critical. Like other small-sensored cameras, such as GoPros, Zoom Q8s and smartphones, most affordable 360 cameras use tiny sensors for their cameras. As such, they struggle in poor lighting situations. A lack of manual controls in most cases means that for ideal videos, it’s best to hunt for ideal conditions. Outdoor shots during the golden hour are ideal, but be thoughtful that those little sensors may wash out when the sun gets too high or bright overhead.
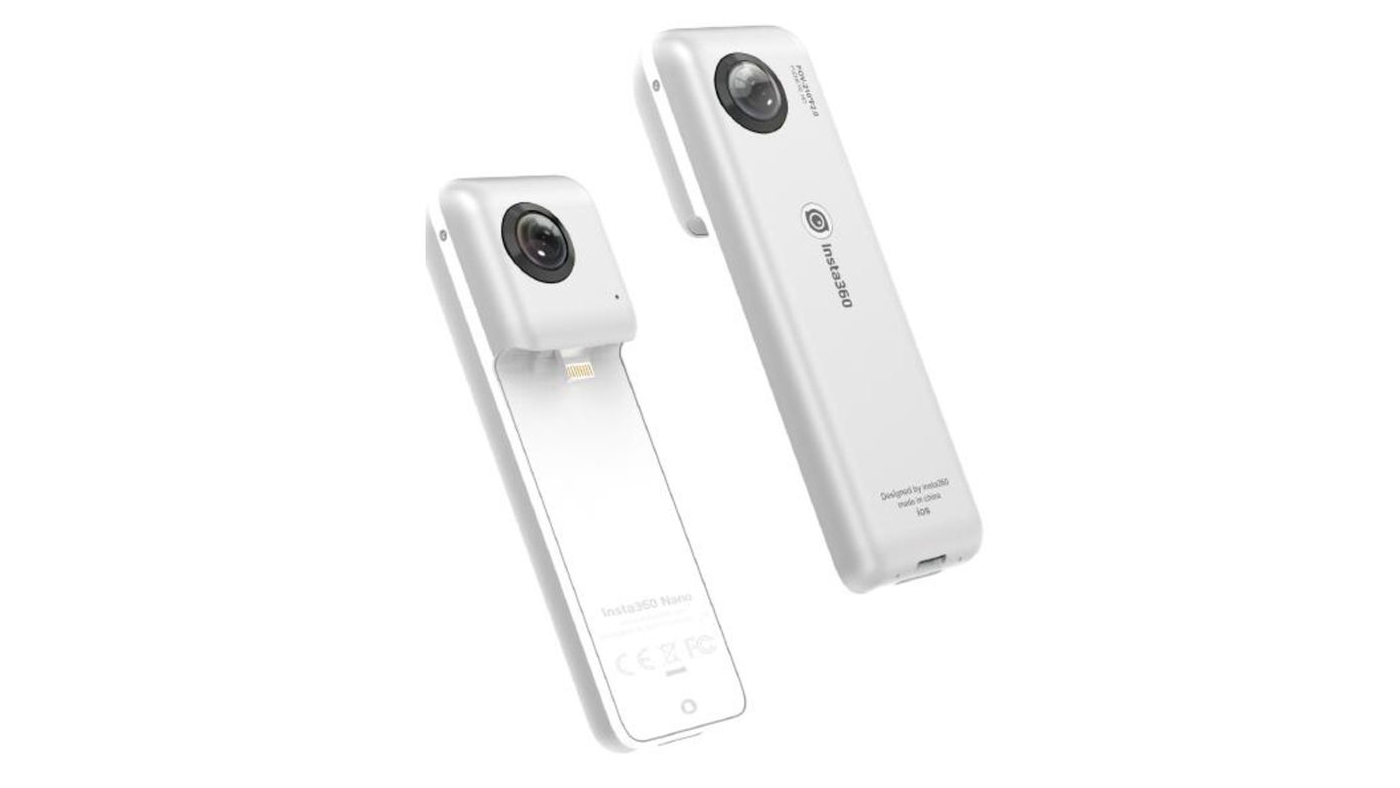
One neat camera that gets similar results to the rest of the aforementioned cameras but turns the workflow on its ear somewhat is the Insta360 Nano. This innovative camera plugs directly into the lightning port on an iPhone. It has its own set of lenses, a microSD slot to store captured video, and it’s charged separately from the phone. When plugged into an iPhone with the Insta360 app, the app opens automatically and the user then has a large iPhone touchscreen to view what the camera sees and to control the device. While many devices pair with a smartphone, it’s tough to beat the lag-free direct connection the Insta360 offers. Plus, the device is small enough to toss into a pocket, just in case a random 360 video opportunity arises.
Ok, our conditions were great so we shot some 360 degree footage, and now it’s sitting on a storage card of some sort in our 360 camera. Our first step will usually be to move the footage to a storage device other than the camera’s storage media. Copy it to a hard drive or somewhere you’re happy editing from.
Offload, stitching and editing
This is usually as simple as connecting a powered on camera to a computer using the USB cable supplied with the camera. The software that ships with the camera can often assist with the copy, though it might be easier to simply hook-up the camera and let it mount like a connected drive and simply copy over the footage files. Mac users may find Image Capture, which ships on all Macs, to be the simplest way to import footage. Depending on the model camera, there may also be explicit instructions that ship with the product.
Once the footage is on the editing machine, it’s time to get spherical.
Most consumer level cameras use two sensors and two ultra wide lenses in order to capture all 360 degrees. Therefore, the camera captures two separate images at a time. They’re contained in the same file on the camera, but most cameras can’t handle the processor-intensive job of stitching the footage together into a single image. Fortunately, your camera will have some software that will allow you to complete this step. Stitching the images together is, of course, essential to creating one seamless 360 degree clip.
After following the directions for your camera’s stitching software, you’ll be left with a new file. If you were to open this file in a program such as Quicktime it would look something like a wall map of the planet earth: it’s a spherical image flattened out into a single rectangle.
Editing is kind of the easy part. Since we already know how to edit footage in Premiere Pro, at least basically, this part will be a breeze. Import the new flattened clip as you would any other footage. Once in Premiere’s project window, drag the clip onto the “New Sequence” button at the bottom of the window. This will create a sequence that matches the settings of the clip, and it will open the sequence in the Timeline panel for your editing pleasure.
How you choose to edit your clip is up to you, but there are a few things to consider. First of all, there is no escaping the 360 camera’s staring eye, so the beginning and ending of every clip will likely be an extreme closeup of you staring awkwardly into the lens. Consider trimming these bits, unless you like that sort of thing.
The second consideration in basic editing is with regard to titles, graphics and other elements you’d like to add to the clip. Remember that the top and bottom, as well as the extreme left and right sides of the clip will eventually be joined together. If you would like your title or graphic to flow over the portion of the clip that is split apart, you’ll need to figure out which portion of your title goes on which side.
If you wanted to have the words “Videomaker Magazine” appear across the portion of the image split by the camera, you’d want to make a title that reads “Videomaker Magazine”, duplicate it to ensure it is exactly the same font, size, and location on the screen, then move one copy of the title to the extreme right without cheating up or down until only “Videomaker” is visible. Repeat these steps with the second title, only to the left and until only “Magazine” appeared. Now when the clip is viewed as a 360 degree image your title will flow seamlessly. If the desired title location does not cross over the camera split, this is much simpler. Simply create a title as usual, and it will look just fine.
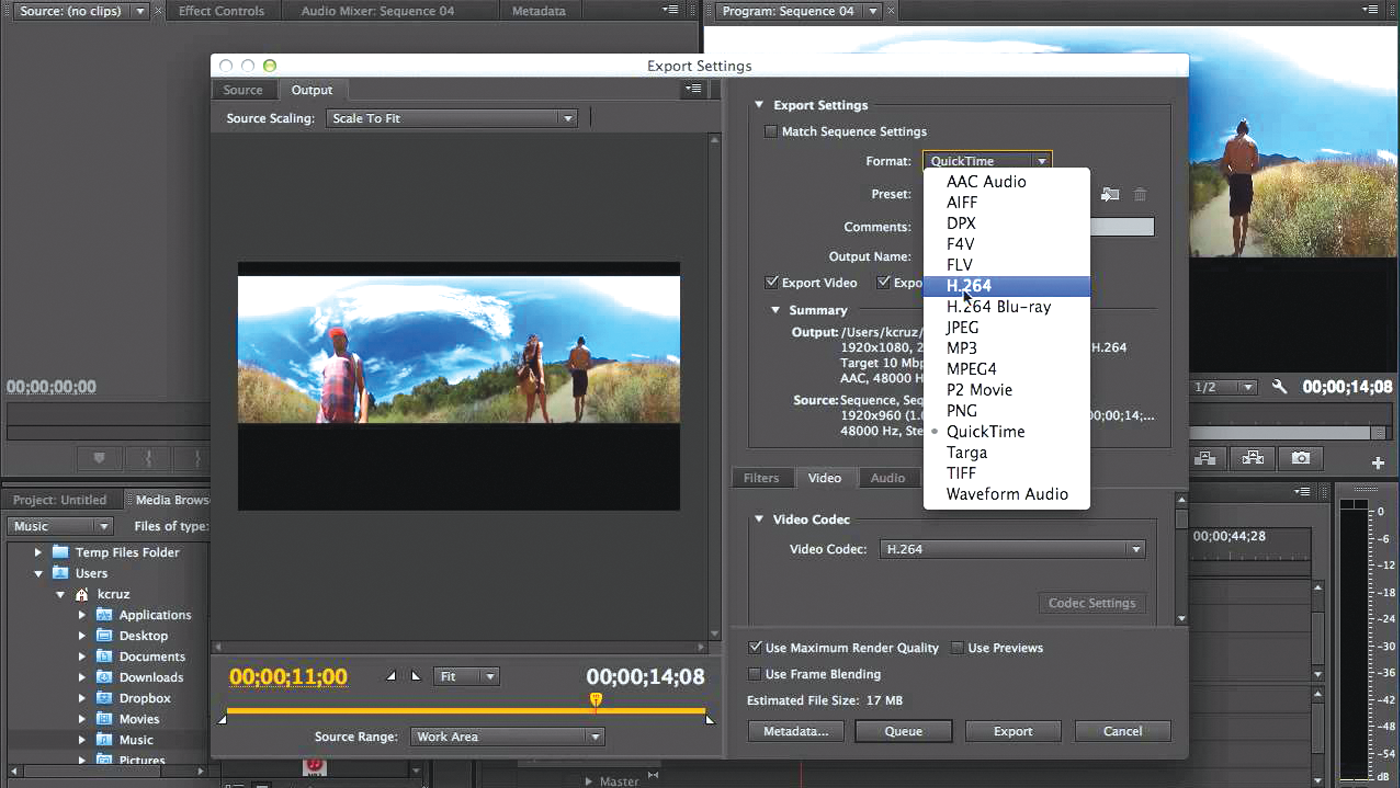
Once your video is to your liking, complete with fades, transitions, audio cleanups and the like, the next step is to render out a finished work. This is again just like rendering a normal clip. For our first-360-video needs a good option for posting this video to Facebook or YouTube is to use one of Premiere’s handy H.264 render presets that match the sequence settings in high quality. With these cameras, you’ll want to keep all the resolution you can.
Publishing your masterpiece
Now that you’ve got a finished 360 degree video, the next step is the fun part — publishing the video somewhere that allows you to pan around the virtual world you’ve captured. The only real consideration at this point is letting the destination site know that the video is meant to be displayed as a 360 video.
For Facebook users publishing their video to a Timeline, there are no additional steps. Facebook will recognize your video as 360 and publish it accordingly. If the destination is a Facebook Page, as opposed to a Timeline, there could be a small extra step.
If your camera adds 360 metadata to video files and you haven’t edited the footage, upload your video as usual. If you are using your Premiere export or a clip from a camera that doesn’t add any special metadata, there is an extra step. Follow the usual steps to publish a video to a Page, but before publishing the video click on the Advanced tab. You’ll see an option to tick, called “This video was recorded in 360° format,” and then publish. This will make the 360 controls appear when viewing the video.
Publishing to YouTube has a short step as well, but it’s also pretty straightforward.
Once your video is rendered out of Premiere Pro, do a quick Google search for YouTube metadata. There is a handy app for Mac or PC called Spatial Media Metadata Injector. YouTube help can point you in the right direction to download the app. Once downloaded, open the app, import your finished clip, tick a box labeled “Spherical” and then select “Save As” to create an all-new, YouTube ready file. Upload to YouTube, and enjoy.
Note that your video may not appear spherical right off the bat on YouTube. There is a lot going on behind the scenes that could slow down the process of um…processing. Be patient, refreshing the video page every so often to see if it’s ready for viewing.
The big picture
The big thing is to have fun with 360 video. There are great apps available from Dashwood 360, Mettle and other companies that specialize in 360 video, and some of their plug-ins will likely simplify the steps in this article. Beyond those, the actual software is changing all the time. Cameras and their software are improving, and Adobe is incredibly deft at keeping up with industry trends, embracing new tech as quickly as it’s developed. Their software is extremely good at handling 360 video, stereoscopic 3D and just about anything else you can throw at it.
As this technology continues changing and evolving all of the time, it’s difficult to tell how it’ll stick with video enthusiasts. Tech such as VR has come and gone and come again, and these cameras add a few steps to the fun. They have inherent challenges, such as no decent way to monitor what’s being shot without a remote connection aside from the iPhone-connected Insta360, metadata injection, resolution issues and the same issue we face with every camera: a need for compelling content. YouTube and Facebook are already full to the brim with fluff, so will the world keep 360 video around and continue to use it? It’s difficult to tell just yet, but with low cost cameras and capable software, those of us looking to make great content will likely keep doing it.
Russ Fairley is a writer, video producer and drummer from Toronto.


