
Livestreaming is one of today’s most common ways of consuming content. It goes beyond sharing video game playthroughs on Twitch and making Facebook Lives for small businesses. As a Videomaker reader, you can become a livestreaming specialist and take advantage of all the benefits this medium has to offer. If you are up to it, you can even make money doing them.
This livestreaming 101 gives the basics to get you started. We’ll cover the equipment you need, the planning, strategies, making money on Twitch and more. Livestreaming is for everyone, and as a video professional yourself, you can’t miss the opportunity to go live.
Livestreaming is here to stay
Since the events of 2020, working from home and spending more time indoors has become part of many people’s lives. Because of this, many are taking the opportunity to get into livestreaming. In one way or another, it is beneficial to include livestreaming into your productions. Streamers are enjoying their highest views counts ever, which are likely to increase. If you want to hop on the livestreaming train, the first thing you need to do is know what you will be talking about.
What is your topic?
It is necessary for livestreaming to have a very well defined topic. Your audience should know why they are tuning in to your feed. Successful streamers focus on specific niches and topics. Their viewers will tune in to their feed because they are genuinely interested in the subject. For more information on what you should stream about, check out “What to Stream.”
Now that you have your topic, let’s begin with planning your livestream.
How to plan a livestream
When doing a livestream, it is not a bad idea to have a simple outline. We discuss more details in “How to Plan a Livestream.“ One of the things you should not overlook is having a script. A simple script with a couple of pointers on what you will be talking about will keep track of all the topics you want to cover in the stream.

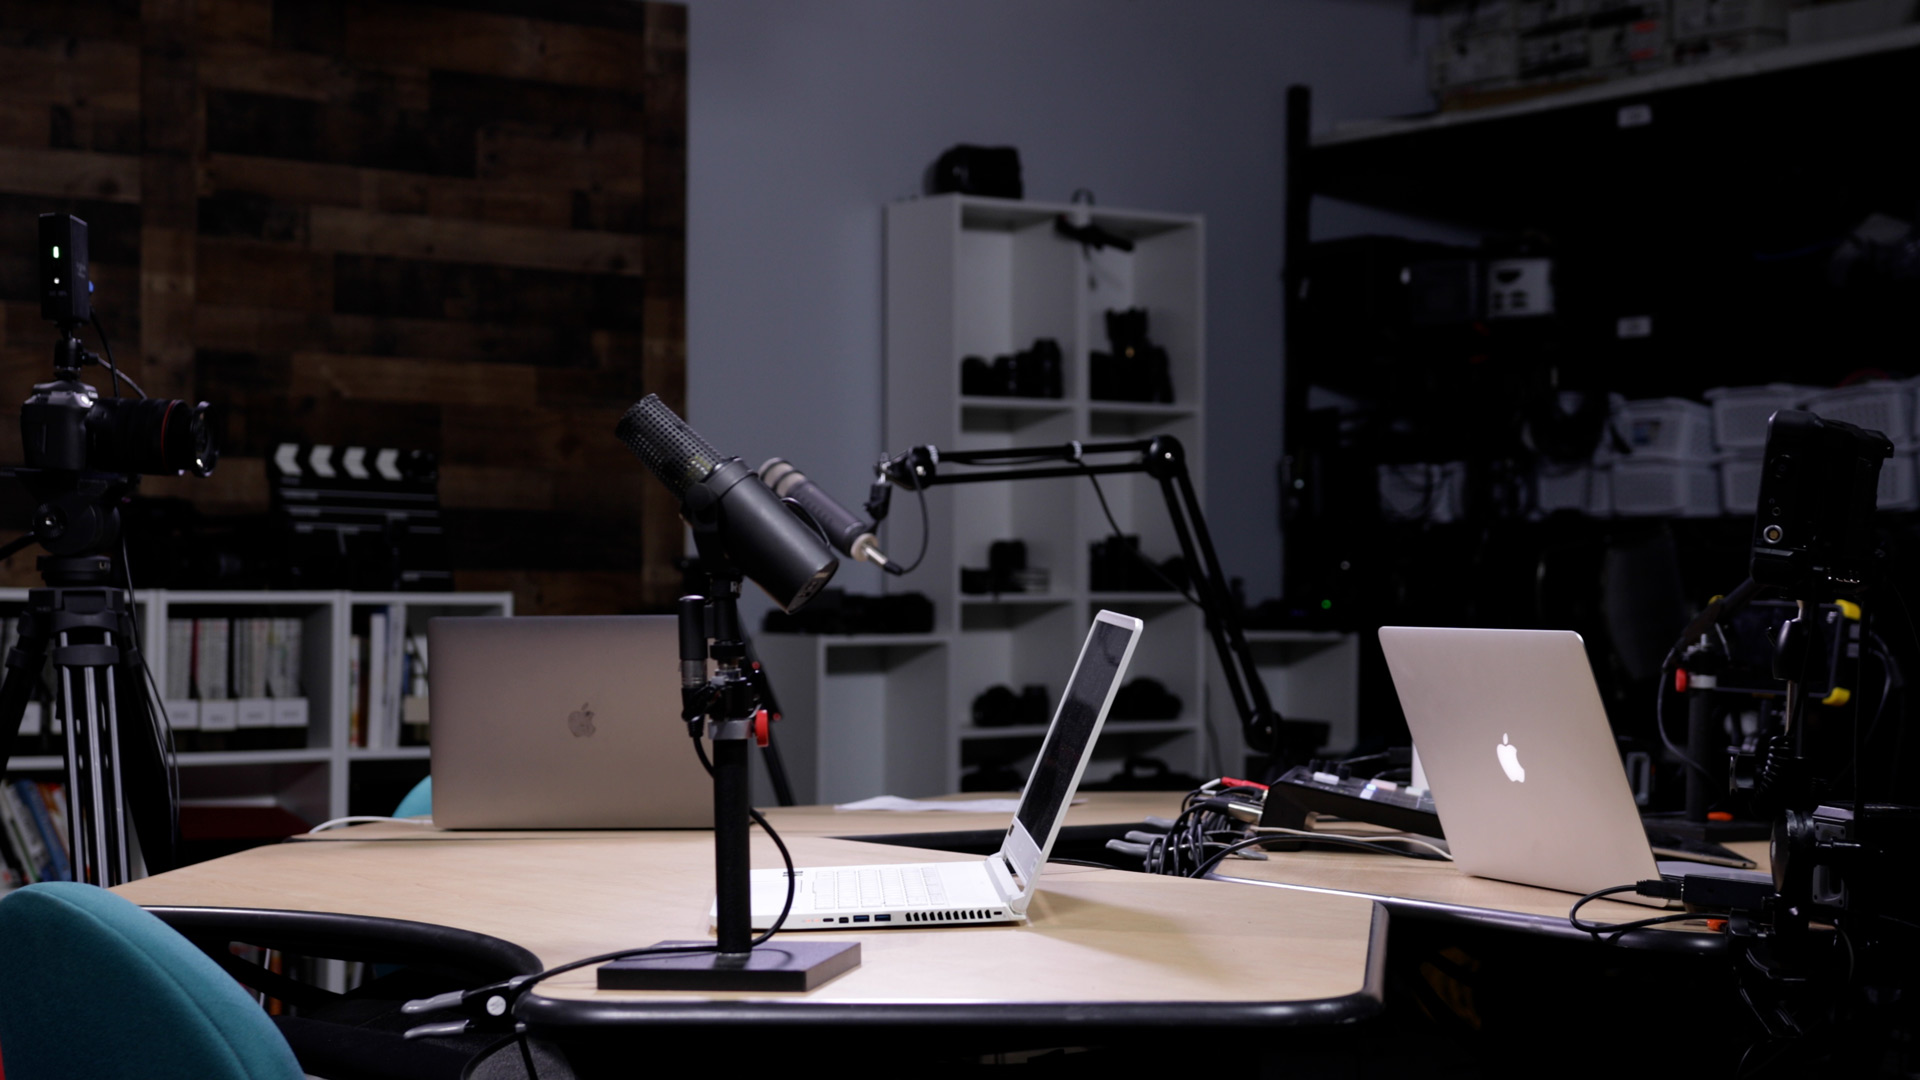
Once you’ve written your script, schedule a day and time for your stream. As part of your livestreaming plan, make an equipment checklist. The list should include a camera, a tripod, an external microphone, lights, cables and props. For more information about livestreaming equipment, check out “Essential Livesteaming Gear.”
With this basic plan, you should be all set, but it is indispensable to understand the most critical part of livestreaming.
A good connection is essential
When it comes to planning your stream, it is essential to think about your livestream settings. It would be best to run your livestream as close as possible to your modem or router. This ensures you have the best signal strength. If you are using a computer, use an ethernet cable connected directly to your modem to get your internet provider’s full speed. This will help prevent livestreaming lag and playback issues exponentially in comparison to using WIFI.
As for what internet speed you need to run an effective livestream, it will depend on your broadcast quality. In livestreams, the “Upload” speed is more important than the “Download” speed since you are sending data—streaming video—from your local device to the internet. Do you plan to run an HDR livestream? That’s a whole different ball game when it comes to connection quality and speed.
There is also the “Bandwidth,” which refers to your network’s capacity to upload and download data. The greater the network bandwidth, the faster the uploads. The table below shows general recommendations for uploads speeds.

Here are detailed bitrate recommendations for Facebook Live, YouTube Live and Twitch if you want further information.
One thing to consider with internet speeds is when you are doing interviews. In those situations, you need to keep in mind the other person’s internet connection. It will likely affect the stream’s video and audio quality. If the other person has slow internet, they will lag in your stream, regardless of your good connection.
However, if your connection is stable, you may not lag at all. You cannot do much about it other than trying to turn off their video feed to save bandwidth and have an audio interview only.
Another thing you need to be aware is RTMP and livestreaming protocols, which correlate to your connection and the streaming platform you use.
Now that we have covered the basic guidelines, let’s briefly cover the platforms available.
Livestreaming platforms
Livestreaming platforms are video hosting solutions that allow users to upload and broadcast video content to their audience. To determine which livestreaming platform works best for your business, you should identify the goals you want to reach with streaming. There are consumer-grade broadcast platforms such as Youtube Live, Facebook Live and Twitch. These platforms are designed for independent content creators and amateurs broadcasters.
However, these platforms don’t have the tools to make a professional broadcast, such as having no time restriction on your streams, customizable monetization options, better security and white label video players—no third party branding. One of the professional livestreaming platforms is Vimeo, which brands with established social media following and websites use. For more information on which platform to choose, check out, “What livestreaming platform should you use?”
After knowing where you are going to stream, the next step will be to make some graphics.
Graphics essentials
Adding graphics to your livestream can make it more engaging and exciting for your viewers. Let’s discuss a few of the essential graphics that you can use in your livestreams.
- Lower thirds – the lower third is placed in the lower area of the screen and shows information such as titles, names, short headlines, etc. It can also display social media comments in real-time.
- Logo watermark – a logo watermark is placed in the corner of the screen—usually in the right corner. It is always recommended to show the logo in your streams to reinforce your brand.
- “Starting Soon” graphic – before the livestream starts, it’s is a good idea to have a “starting soon” graphic or looping animation to let your viewers know the livestream will begin soon. A “Starting Soon” graphic will prevent your viewers from staring at a black screen.
- Stream overlays – graphics animations displayed in a stream over the actual content—video games or video—during a livestream. These streams overlays usually have the streamer’s social networks, a chat screen, webcam/camera screen and a background to show a full video. Stream overlays are popular with Twitch streams.
- Virtual sets – a virtual set is a television studio that allows the background to be manipulated in real-time. There are many types of virtual sets, be it a very elaborated 3D model of a news studio or just a studio’s simple background image. If you decide to use a virtual set, you will need to have a green screen and livestreaming software with chromakeying capabilities.
One thing to understand about using graphics in your livestreams is that you need to use dedicated software to add multiple sources/layers.
What software can you use to add graphics to a livestream?
Streaming software provides the ability to add graphics to livestreams, and ultimately, choosing the best streaming software comes down to your demands and needs. The operating system, how many cameras you will use, how many effects you need and your budget will help determine the final choice. As a starting point, we will recommend Videomaker’s Editor’s Choice for the best streaming software of 2020, Streamlabs OBS, a free streaming app designed to make streaming simple.
The built-in tools of Streamlabs OBS will be handy for streamers on platforms like Twitch or YouTube. If you are looking for more advanced software, you can check out Wirecast. Using livestreaming software will make you stand out from the rest and is the first step in a successful livestreaming setup and strategy.
Livestreaming setup
In general, livestreaming setups can be categorized three ways—amateur, professional and broadcast level. The type of streaming equipment you need depends on your streaming needs.
Amateur
The most straightforward livestreaming setup using a webcam or a smartphone, logging in to a free livestreaming platform such as Facebook Live or Youtube Live, and hitting “Go Live.” In this setup, you are using one camera, no external microphone and no supplemental graphics. You are also not considering lighting your scene correctly. It is a “point-and-shoot” scenario, but live. For more information about simple livestreaming, check out “How to livestream from your smartphone.”
Professional
The greatest thing about livestreaming is that you can accomplish a professional look and setup with a low-cost investment. Our article “Cheapest livestreaming setup for home professionals” explains how you can stream with two cameras, screen sharing and upgraded audio input for a manageable investment of $140. If you use proper techniques with your production tools, your streams will look professional and no one will know how cheap your setup is. For more tips on being a professional streamer, check out the course “How to livestream like a Pro.”
Broadcast
In the broadcast category, you are streaming large events, utilizing multi-camera streaming, various audio sources and use a professional livestreaming platform such as Vimeo. The hardware you use here is costly and solely dedicated to livestreaming.
If you develop your livestreaming setup into the broadcast category, it means you are in the big leagues, you have a livestream crew, you are directing livestreams using video switchers and you do it as a career or business. For more information on how to accomplish this, check out “5 Tips to take your livestreams to the next level.”
Now that we’ve showed you the different setups, let’s dive into a few livestreaming strategies you can implement.
Integrating a strategy
In a nutshell, one of the most dependable livestreaming strategies you can rely on and will undoubtedly guarantee great success is interacting with your audience live. Engaging with your viewers—be it via the chat feature, reading their comments live or answering emails—will build a much more loyal audience that will follow your content.

To get viewers, you need to create a plan for the videos you will make, when you make them and promote them. Some strategies could include long livestream content such as live events and conferences or short such as interviews and contests.
Your livestreaming strategy should help promote what you have to offer. Doing so tells the viewer why they should choose to view your content. Always aim to create content that moves you towards the goals you want to achieve. Don’t forget to interact and engage with your audience as much as possible.
Making money with livestreaming
Once you get into the habit of posting regularly and manage to build an audience, you can start looking for opportunities to make some money with your livestreams. If you are a Twitch streamer, note that you need to reach specific criteria before making money on Twitch. Of course, there are other ways you can generate income, such as PayPal donations, Patreon, direct sponsorships and others.
The next steps
Is vital to be aware of how to tackle a livestream’s complexities. Anything can happen, and you need to be ready. Other pieces of useful information are our Buyer’s Guide, “The Best Livestreaming Equipment – 2021” and the course “How to Livestream Like a Pro.” Although livestreaming can seem daunting, it is the best way to connect with your audience and is accessible to all. Find your topic, gear, and get streaming.


